There are those who wear jewels. And there are those who want to create them with their own hands, maybe resin jewelry. Yeah, but how to make resin jewelry? What is needed? What are the basic steps. Let’s see how you can create a resin jewel in the size and with the design that you have decided. This is exactly why resin jewelry has become increasingly popular in recent years. It’s easy to see why: it’s a material that’s versatile, inexpensive, and can be used to create a wide variety of designs. If the idea of creating your own resin jewelry appeals to you, here is a detailed guide to get you started.
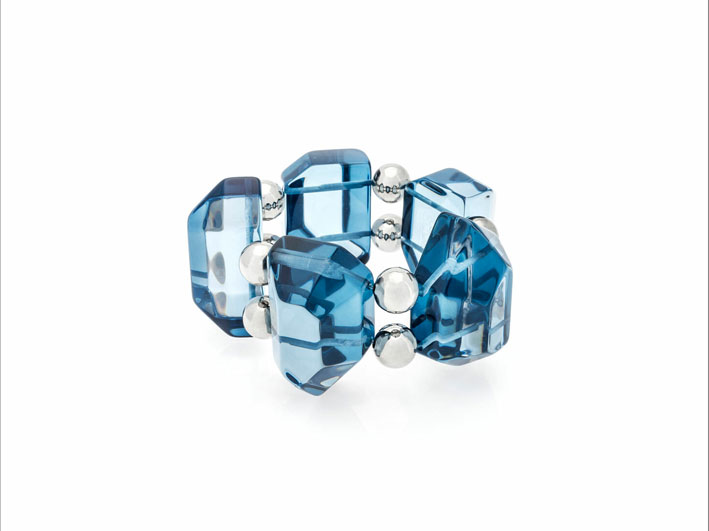
Materials Needed:
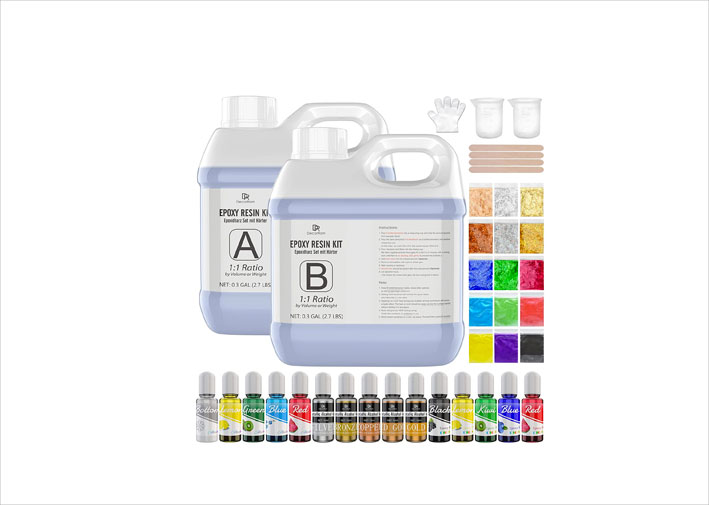
• Epoxy resin
• Mixing cups
• Stir sticks
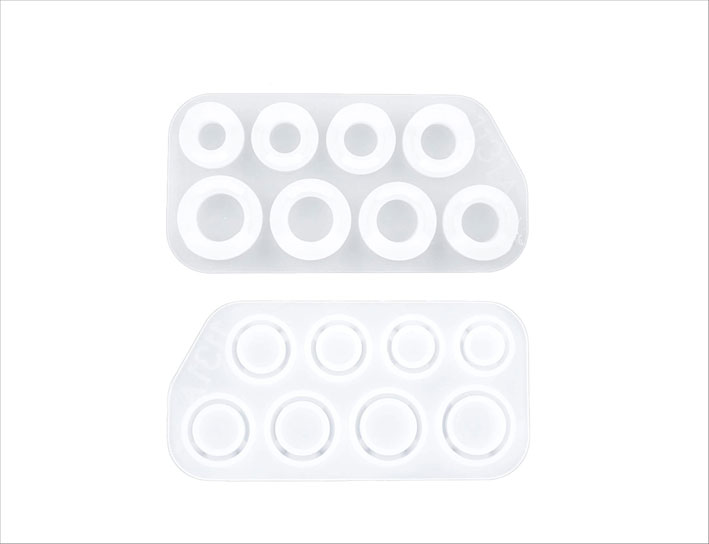
• Silicone mold
• Pigment or dye (optional)
• Glitter (optional)
• Jewelry findings (jump rings, earring hooks, etc.)
• Sandpaper
• Protective gear (gloves, mask, goggles)
Step 1: Prepare your workspace
Resin is a messy material, so you’ll want to work in a well-ventilated area that’s protected from dust and debris. Cover your workspace with plastic or newspaper and put on protective gear, including gloves, a mask, and goggles.
Step 2: Mix the resin
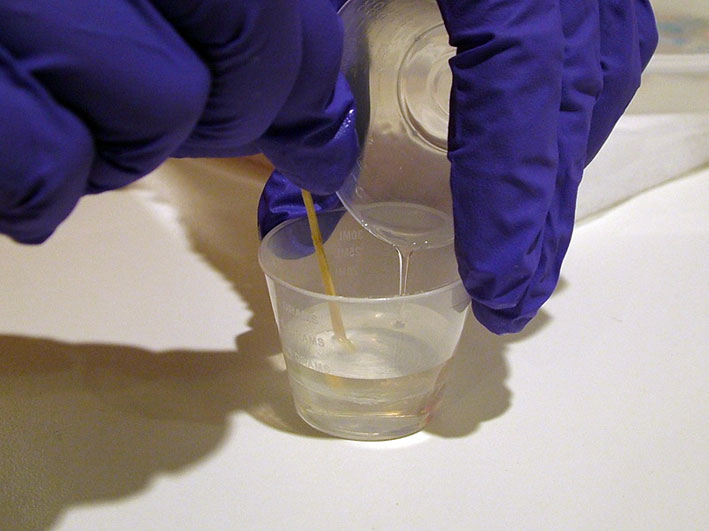
Follow the instructions on the epoxy resin packaging to mix the resin and hardener in the correct proportions. Pour the resin into a mixing cup and stir for 2-3 minutes, making sure to scrape the sides and bottom of the cup to ensure the mixture is thoroughly combined.
Step 3: Add color and glitter (optional)
If you want to add color to your resin, you can use pigment or dye. Be careful not to add too much, as this can affect the curing process. You can also add glitter or other small decorative items at this stage.
Step 4: Pour the resin
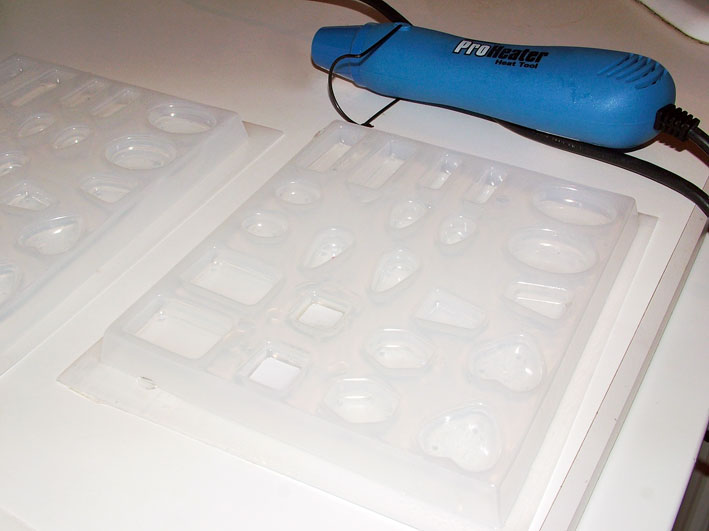
Pour the resin mixture into your silicone mold. If you’re making a pendant or earrings, you can use a mold with a hole at the top for the jump ring. If you’re making a bracelet or ring, you can use a mold with a flat surface.
Step 5: Remove bubbles
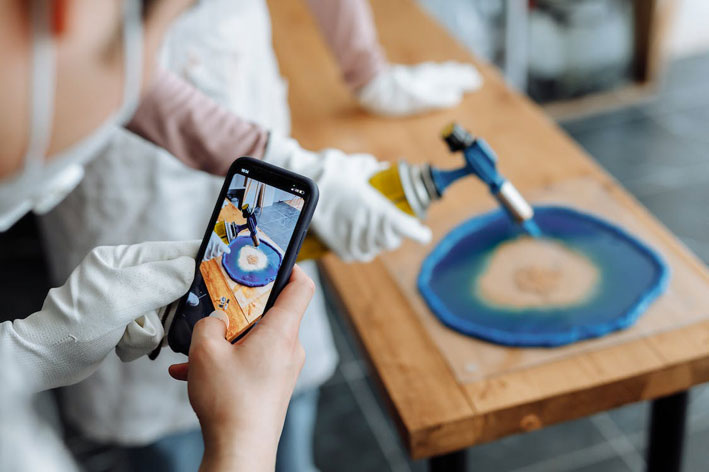
Use a heat gun or blowtorch to remove any bubbles that may have formed in the resin. Be careful not to hold the heat source too close to the resin or for too long, as this can cause the resin to overheat and cure too quickly.
Step 6: Cure the resin
Follow the instructions on the resin packaging to determine the cure time. This can range from a few hours to overnight. Once the resin has cured, remove it from the mold and trim any excess using sandpaper.
Step 7: Add jewelry findings
Attach jump rings or earring hooks to the resin pieces using pliers. If you’re making a bracelet or ring, you can use a strong adhesive to attach the resin piece to a metal base.
Step 8: Enjoy your new jewelry!
Your resin jewelry is now complete and ready to wear or gift to a friend. Store your pieces in a cool, dry place to prevent them from becoming cloudy or discolored over time.

In conclusion, creating your own resin jewelry can be a fun and rewarding DIY project. With the right materials and techniques, you can make beautiful and unique pieces that reflect your personal style. Happy crafting!


